Make a Book Bow Tie
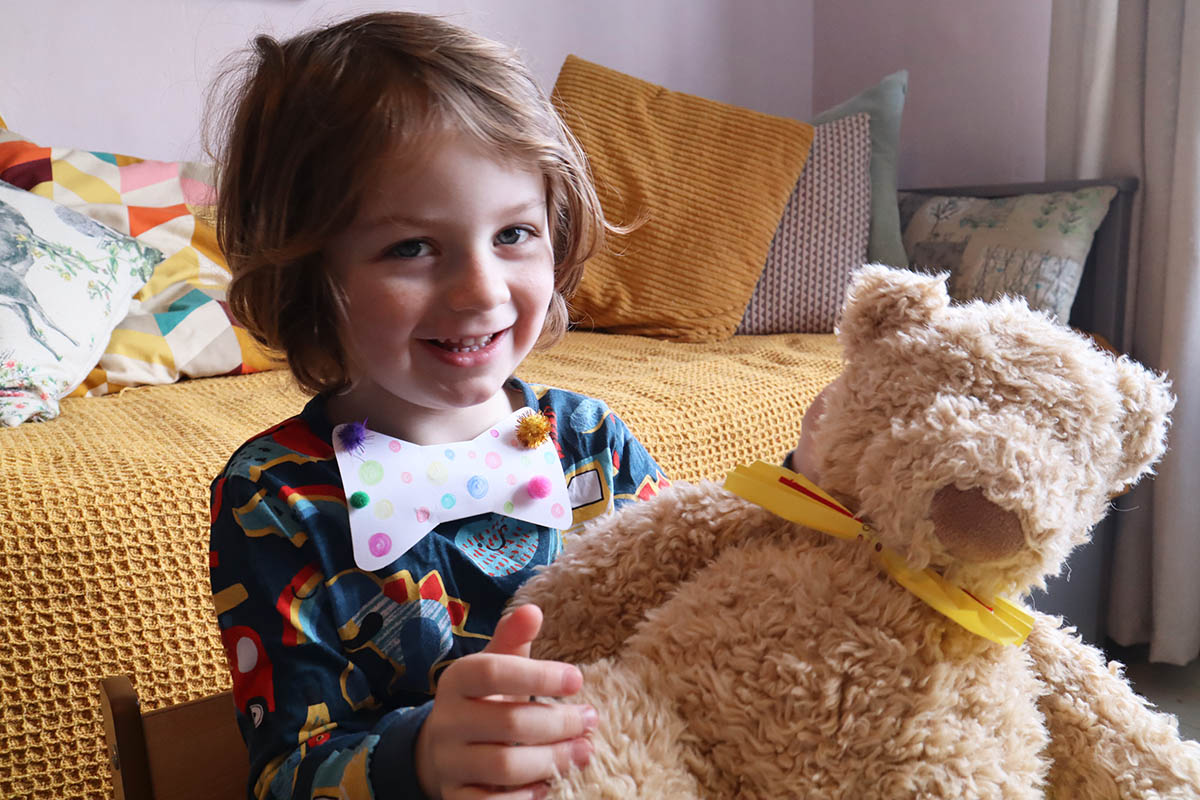
One of the many fun things that we all love to do on World Book Day is dress up like a favourite character from a treasured book. But have you ever dressed up as an author before? Swansea poet Dylan Thomas is famous for wearing a bow tie, which made him look very quirky in some of his most famous performances. So that we can all embrace our inner-poet, we have set a challenge to design your own bow tie – with extra points for bookishness!
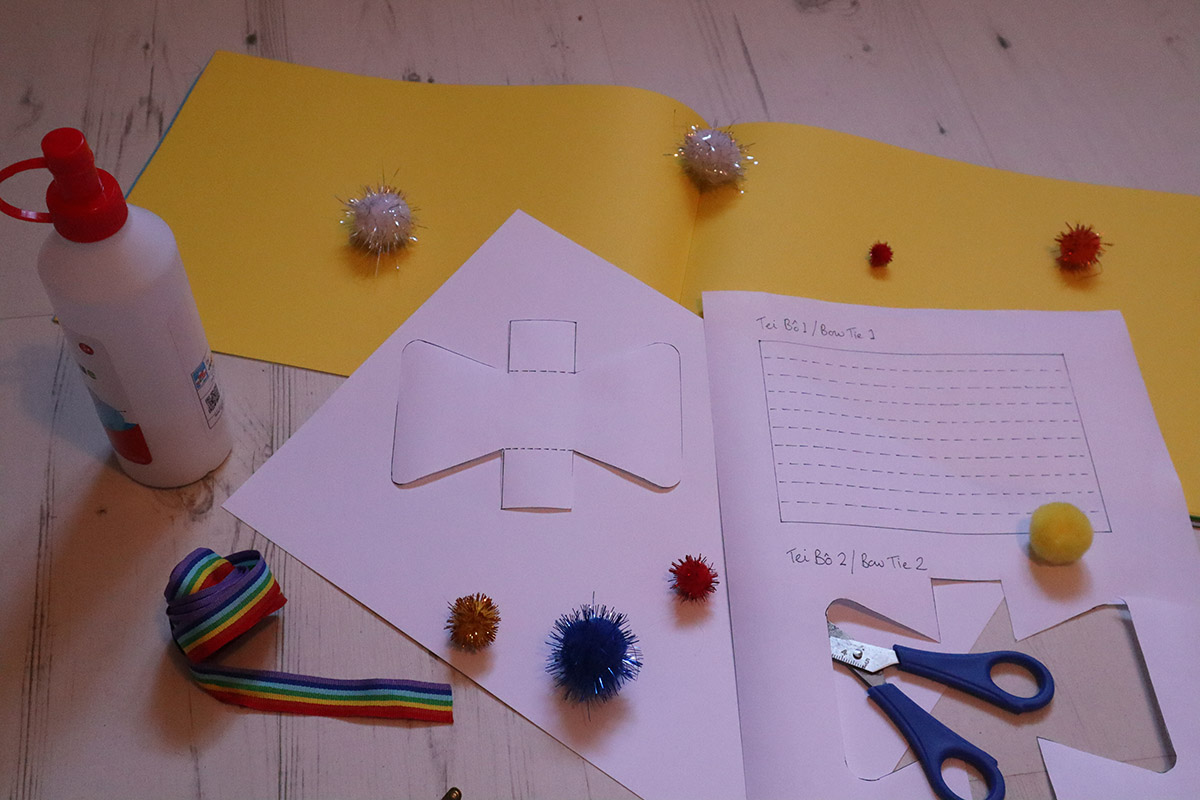
Your bow tie can be made of anything – as long as it is safe to sit on your collar area like a bow tie and as long as the shape resembles a bow tie (see the template and illustrated guide below if you aren’t sure of the shape). We have included some examples of our own efforts to get your imaginations going, and would love for you to send us a photo of your finished neckpiece with the hashtag #bookbowtie. If the items you choose are not easy to secure to your collar, you might like to lie on the floor to have your picture taken, and balance your bow tie that way – this is about creativity and fun, not practicality!
We have also designed a simple activity for making a paper bow tie. Simply use the template below and place it over any paper or card of your choosing. If you don’t have a printer you can simply draw a rectangle that is 15cm by 10cm and fold the concertinas according to our instructions. Remember to decorate your bow tie before you begin folding it. You can use paint, pencils or anything you like!
Also included is a separate page of words from Dylan’s poems, so that you can print it out and use the template to cut out a very wordy bow tie. If you don’t have a printer you can copy some of the words onto the paper or card you have chosen to use.
Have fun! We can’t wait to see the results. We’re @DTCSwansea on Twitter, and www.facebook.com/DylanThomasCentre
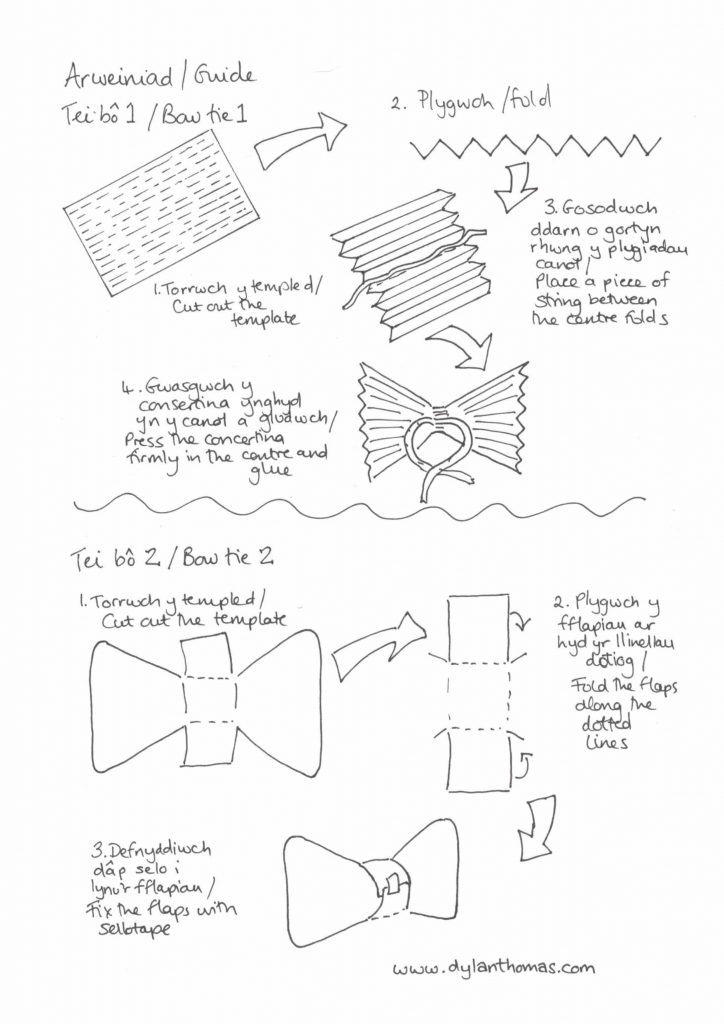
Guide
Concertina bow tie
- Cut out the rectangle template and lay it upon the paper or card of your choice. You can skip this step by using the template itself and colouring it in.
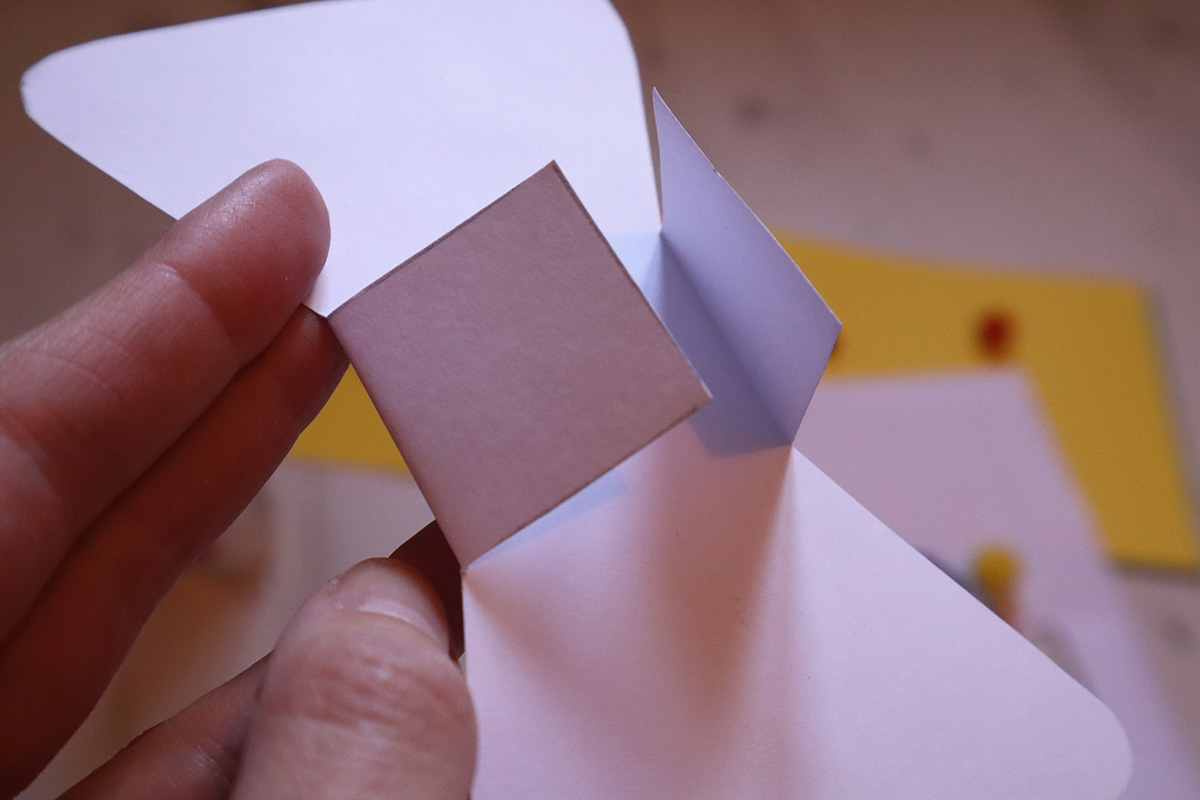
- Fold along the dotted lines to make a concertina shape. If you have placed it as a template you will need to draw guide lines on your paper or card, at 1cm distance.
- Insert a small piece of string or ribbon, about 10cm long, between the central folds. This will NOT be tied around the neck, it will be used to help attach the bowtie using a clip.
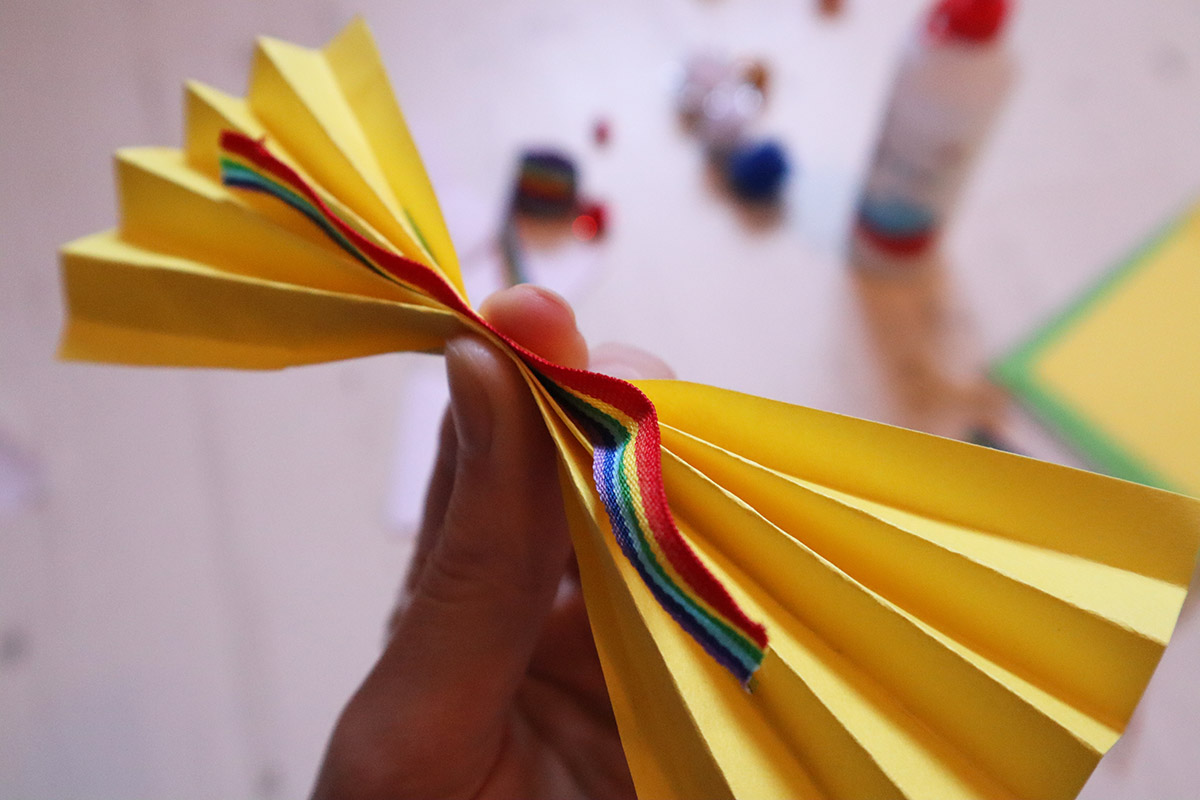
- Press the concertina together in the centre to secure the string and create a bow tie shape.
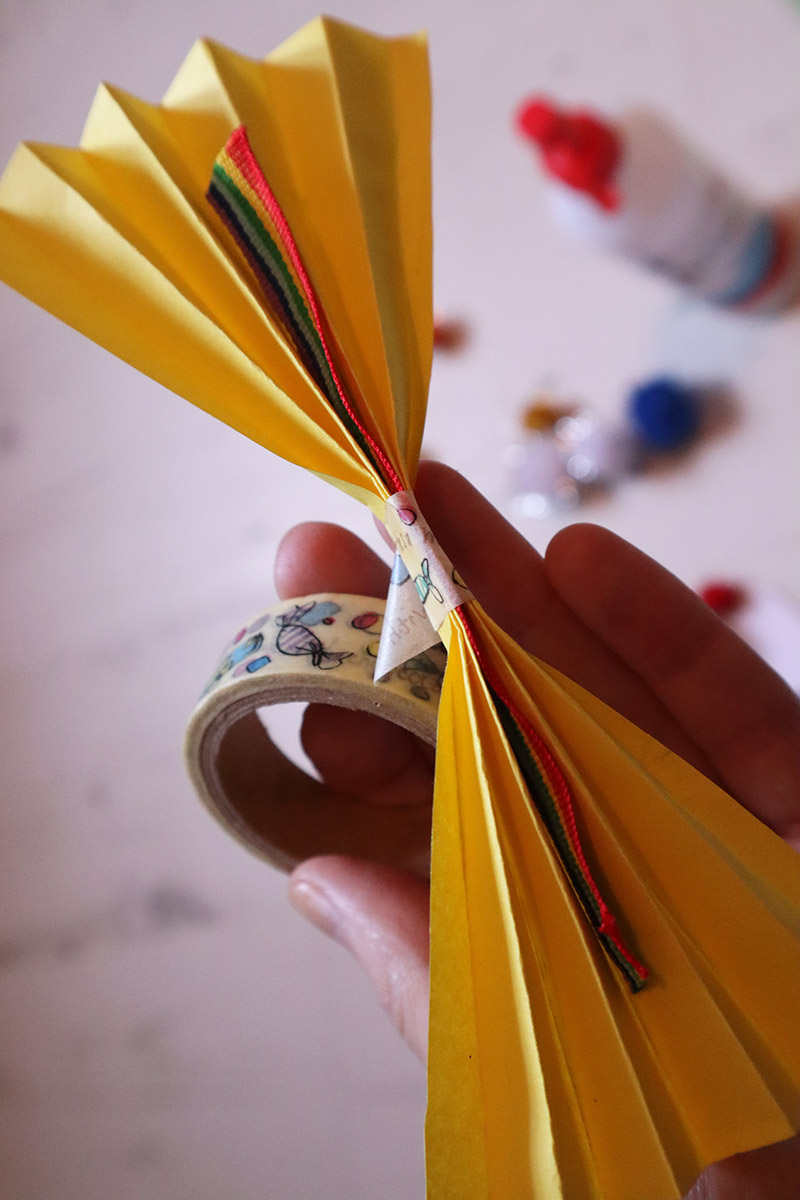
- Glue, staple or tape together at the finger press point, securing the string in the middle as you do so. Then tie a knot in the string ends to make a loop.
- Attach the bowtie by fixing a paperclip, hair grip or claw clip to the string and clipping to your shirt. If you have an adult present, you might like to use a safety pin.
Cut-out bow tie
- Cut around the bow tie shape.
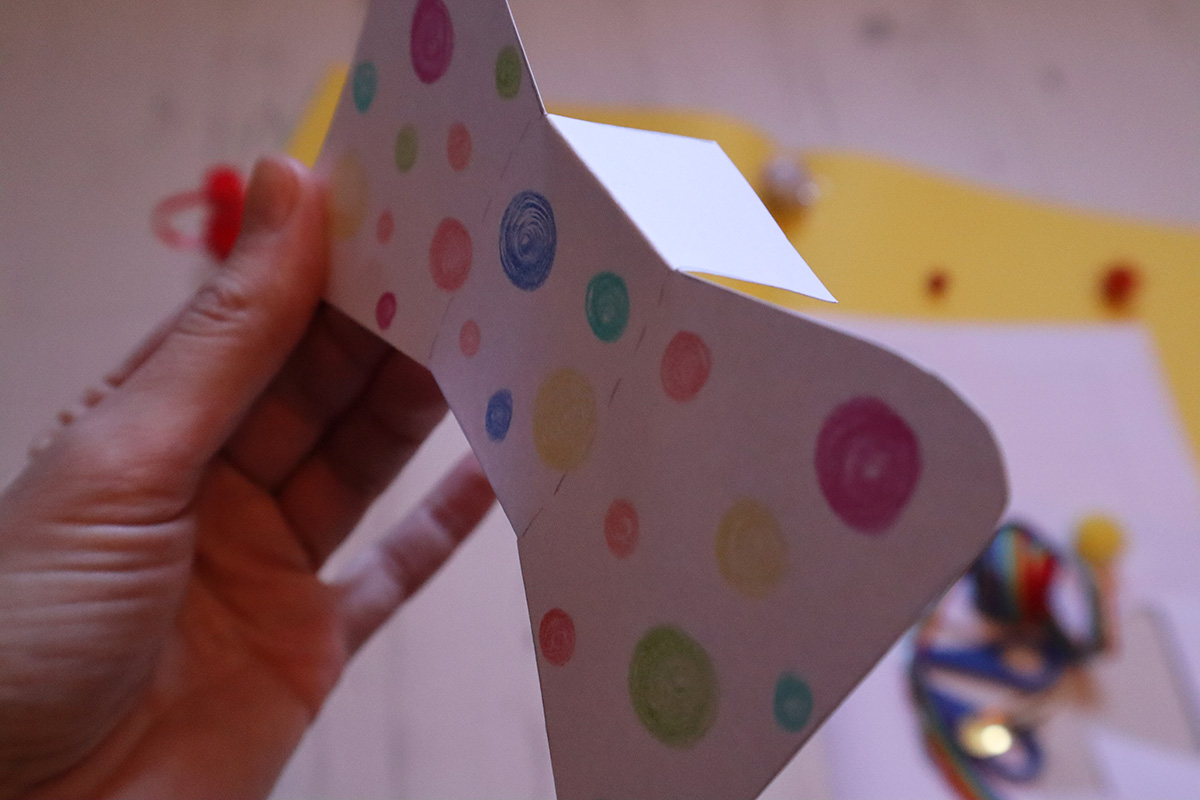
- Decorate your bow tie any way you choose. You might use this cut-out as a template for another piece of card, or decorate it directly.
- Fold the flaps backwards along the dotted lines.
- Sellotape, staple or glue the flaps together at the back.
- Use a paperclip, hair grip, claw clip or safety pin to secure to shirt collar.
This post is also available in: Welsh

